

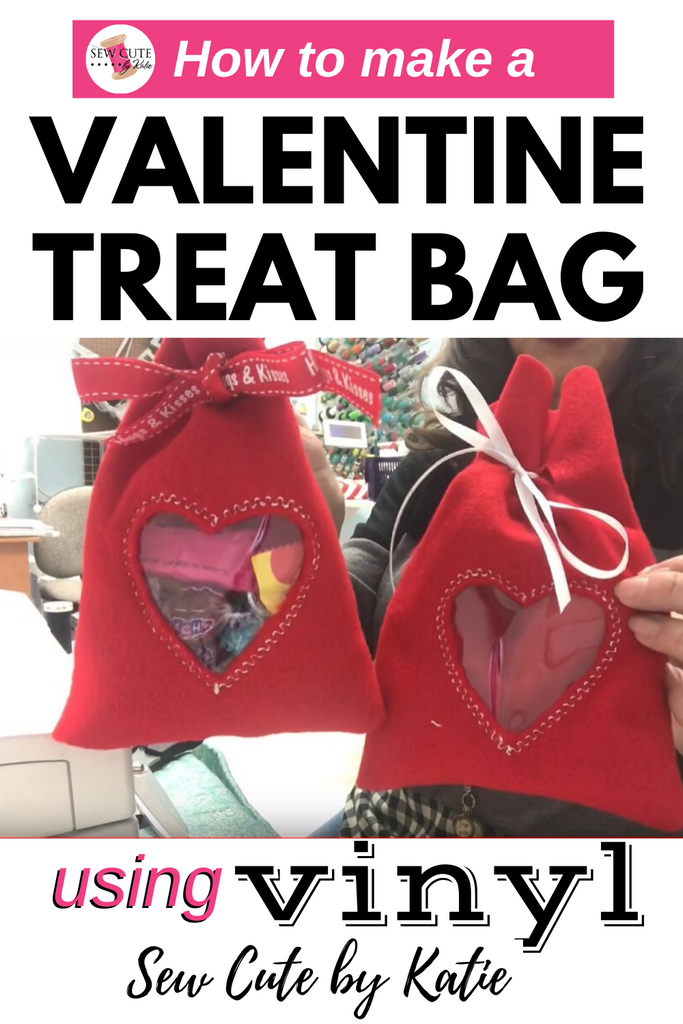
Learn to sew a quick and easy felt valentine craft! This is a great project for teens, beginners and those wanting to make custom candy bags while practicing those sewing skills.
An Easy Sewing Project Using Vinyl!
What I love about this Valentine Treat Bag project is that you can use a 4x4 embroidery hoop (hello, new-to-embroidery friends) or use a regular sewing machine.
If you don't have an embroidery machine, all you need to do is trace a heart template onto your felt using fabric chalk or a fabric pen. You can straight sew around your heart template or use one of your machines fancy built-in stitches!
Watch below if you'd like to see the entire process.
Jump below the video for more details...
Supplies & Tips for Sewing a Valentine Treat Bag With Clear Vinyl
You'll need one felt craft square. These can be found at almost any craft store. Usually about 12 inches by 12 inches.
- 12-inch by 12-inch felt craft square, red
- 4-inch by 4-inch piece of clear vinyl
- tear-away stabilizer, slightly larger than your vinyl
- heart template (download embroidery file here)
- coordinating thread
- ribbon
General Instructions
Please watch the short video for more detailed sewing instructions.
What we're sewing up today is called a reverse applique.
- Sandwich your supplies (felt, vinyl, tear-away stabilizer). If you're sewing on a normal machine, you may need to pin or clip your materials together to keep from shifting. Be careful not to poke any holes through the vinyl inside your heart shape. You'll want to position your vinyl on the lower right or left side of the felt. If you fold the felt in half, position the vinyl on the bottom center of the half. Just be sure to open it back up before you sew (if I've confused you, just watch the video)!
- Trace and sew your heart shape, felt side up.
- Using my FAVORITE applique scissors (see link below), trim away the felt just inside the stitch lines. You'll basically be cutting out the tiniest, cutest little heart shape that you can save for a rainy day. Careful not to nick the stitches.
- Rip off the tear-away stabilizer.
- Close your felt piece like a book (aka. fold in half), right sides together [4:04].
- Sew down the side and across the bottom, leaving the top open.
- Optional: trim the top of the bag with pinking shears or give it a wavy edge.
- Turn the bag right side out.
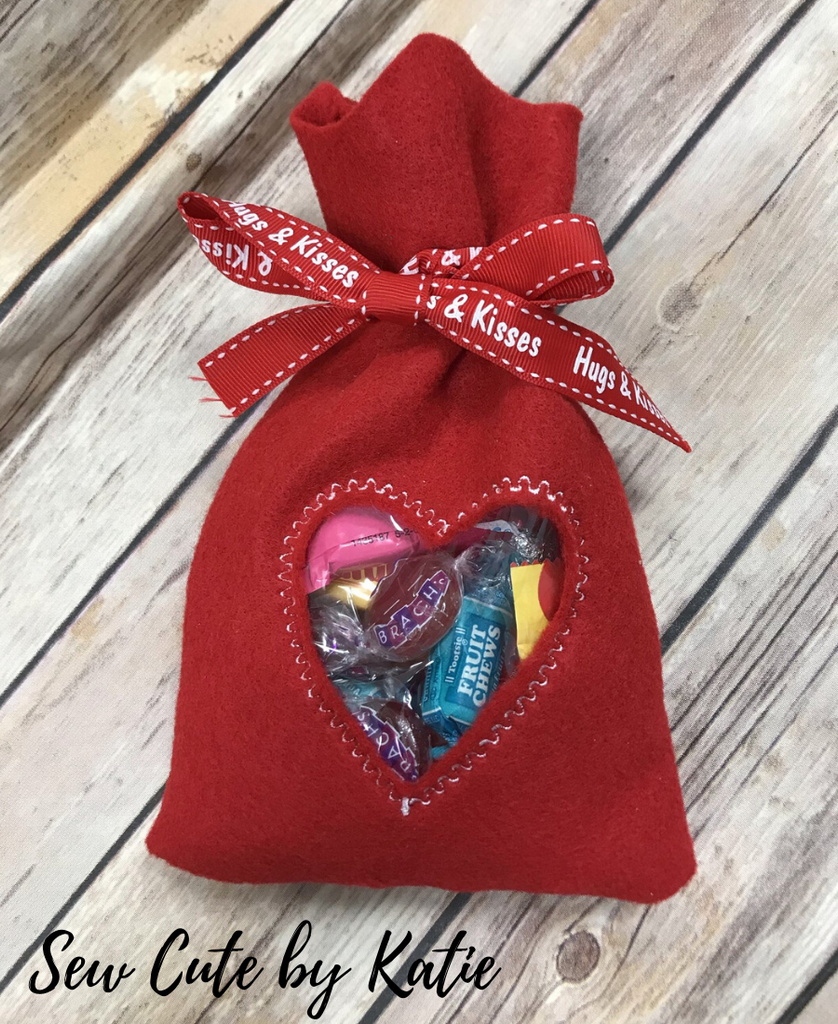
- Cut a few slits in your felt to thread decorative ribbon through to tie the treat bag shut [6:57].
Now fill with candy and make 20 more treat bags to give away to your friends!
Make it for any occasion or holiday by simply cutting out a square or another shape! Mix and match felt and ribbon combinations <3
My favorite double curve applique scissors: https://amzn.to/380R0SN
Hope you enjoyed this sewing tutorial!
Want to learn more? Come join my private sewing community online where I personally teach you sewing projects and help you in your crafting journey! Read more about it here.
We'd love to see your completed projects! Tag us on Instagram @sewcutebykatie or Facebook @sewcutebykatie!
What other tutorials would you be interested in watching?
See all of my latest projects and tips on YouTube, Facebook, or Instagram for more sewing inspiration!
XOXO,
Katie Bertrand

PS. Don't forget to follow me on Pinterest!
Hello Katie, I have seen these bags and wondered how they were made. Your excellent tutorial and explanation made them look so easy, I have plenty of felt sheets on hand, I will give these a try, my kids will love these bags. Also thank you for the free embroidery heart motif design. Keep up the good work!